Checklist for Moving Out of a Rental Property

Table of contents
We get it — moving can feel like a huge undertaking. But fear not! With a solid plan in hand, it transforms into a doable and, dare we say, rewarding adventure. This moving out of rental checklist is here to be your trusty guide, helping you breeze through the journey of moving out of your rental digs. From getting things ready to tying up the last loose ends, we’ve got you covered. Let’s make this move a smooth and satisfying experience for you!
Preparing for the Move
Embarking on the journey of a move is a significant step, and a well-thought-out beginning is essential. Initiate the process by courteously informing your landlord of your decision and collaboratively establishing a realistic timeline for the upcoming move. It’s crucial to be mindful of the notice period stipulated in your lease agreement, aligning your plans accordingly. Also, don’t forget to find and review your lease agreement thoroughly. Take note of any specific requirements related to the move-out process, such as the condition in which the property should be left or any responsibilities you have as a tenant.
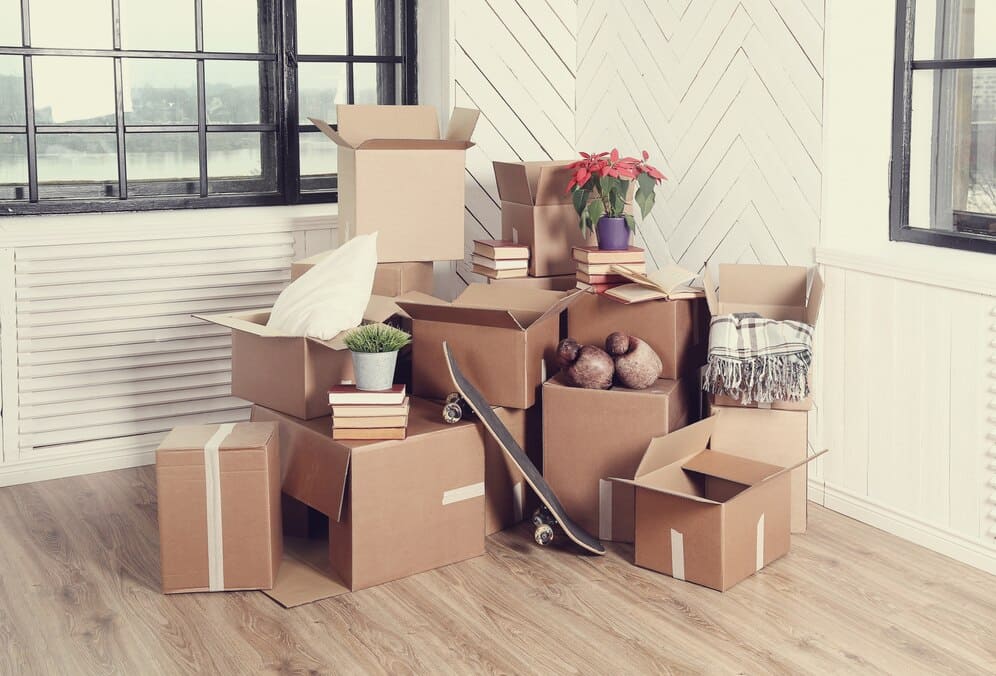
Organizing Your Belongings
Preparing to move involves more than just boxing things up; it’s about strategic organization to make your transition smoother. Here’s a step-by-step guide to help you master the art of organizing your belongings efficiently:
- Declutter and prioritize. Begin by decluttering your possessions. Assess each item and decide whether to keep, donate, use storage services, or discard it. This not only lightens your load but also ensures that only the essentials make the journey to your new space.
- Categorize Items room-wise. Adopt a systematic approach by categorizing items based on their respective rooms. Pack similar items together, making it easier to unpack and settle into your new home seamlessly.
- Gather packing supplies. Ensure you have ample packing materials, including sturdy boxes, bubble wrap, packing paper, and tape. Having these materials at your disposal streamlines the packing process.
- Pack room by room. Focus on one room at a time when packing. Label each box clearly with its contents and the room it belongs to. This labeling system not only keeps you organized but also facilitates a smoother unpacking process.
- Prioritize essential items. Identify essential items that you’ll need immediately upon arrival at your new home. Pack these separately and label the box as “Essentials” to ensure easy access during the first days of settling in.
- Secure fragile items. Take extra care when packing fragile or valuable items. You’ll need appropriate packing materials and clearly mark these boxes as fragile. This ensures that delicate items arrive at your new home intact.
- Create a Master inventory list. Keep track of your belongings by creating a master inventory list. Note down the contents of each box and its corresponding room. This list acts as a reference during unpacking and helps in case of any misplaced items.
- Label boxes clearly. Labeling is key to an organized move. Mark each box with its contents, destination room, and any handling instructions. This simple step minimizes confusion and expedites the unpacking process.
- Color code for easy identification. Consider using a color-coding system to identify boxes from different rooms. Assign a specific color to each room, making it visually clear where each box belongs.
- Keep important documents handy. Place important documents, such as contracts, registrations, identification papers, and moving-related paperwork, in a designated folder. Keep this folder with you during the move to ensure easy access.
By adopting a systematic and thoughtful approach to organizing your belongings, you not only streamline the packing process but also set the stage for a more comfortable and efficient move. Each labeled box becomes a step closer to the exciting new chapter awaiting you in your new home.
Cleaning and Repairs
Leaving your rental property in good condition is not only a courtesy but often a requirement outlined in your lease agreement. Deep clean the entire space, addressing areas like appliances and carpets. Attend any necessary repairs, ensuring the property is in the same or better condition than when you moved in. Document the property’s condition with photographs for your records.
Finalizing Documentation
As you approach the final stretch of your move, let’s tidy up the paperwork. Here’s a quick rundown:
- Lease agreement check. Review your lease for specific move-out instructions.
- Address change. Update your address with your landlord or agent and the post office.
- Return keys. Hand over keys and access items as per lease guidelines.
- Property photos. Snap photos of the property’s condition for reference.
- Mail forwarding. Confirm your change of address for uninterrupted mail.
- Settle bills. Clear any outstanding bills associated with the property.
- Update contact info. Ensure your landlord or agent has your latest contact details.
- Document copies. Find or make copies of important documents for your records.
By using these steps from our house move-out checklist, you’re not just closing one door; you’re opening a smooth path to your new home. Let’s wrap up that paperwork and move on confidently.
Utility and Service Transfer
Time to give a heads-up about your tenancy change to your utility pals! Notify utility providers of your impending move to schedule disconnections at your current property and connections at your new residence. Update your registered address with relevant authorities, including the post office, bank, and other important institutions. Ensuring a smooth transfer of services will contribute to a seamless move.

Post-Move Follow-Up
Once you’ve settled into your new space, it’s time for post-move follow-up. Follow up with your landlord regarding the return of your security deposit. Confirm that your change of address has been processed with the post office and other institutions to avoid missing any important mail. Using these final steps will help you tie up loose ends, get a full deposit, and ensure a positive conclusion to your rental journey.
By following these tried-and-true steps of our apartment move-out checklist and consulting your lease agreement for any special moves, you’ll be gliding through the move-out process with the confidence of a seasoned pro. Wishing you a seamless move and a happy transition to your new space!


